How To Plumb a Toilet Waste Pipe
July 4, 2023
 Are you struggling with clogged sewer drains or leaky pipework? Proper installation of your toilet waste pipe is crucial for maintaining a functional and hygienic bathroom. Dealing with common issues like blockages, leaks, or unpleasant odours can be a real hassle. But fear not! In this guide, we’ll walk you through the plumbing process step-by-step, ensuring that your toilet waste pipe and sewers are installed correctly and efficiently.
To get started with your toilet installation, you’ll need some essential materials and tools such as a drill bit, a new wax ring, a sturdy flange, and a toilet pan connector. We’ll explain how these components fit into the overall pipework system, including the soil pipes and connecting the clay pipe to sewer drains. These are vital for the seamless operation of your toilet cistern. From drilling holes in internal walls to ensuring proper connections, we’ve got you covered.
So let’s dive in and learn how to plumb a toilet waste pipe, sewer drains and soil pipes, like a pro! No more messy leaks or frustrating blockages in your pipework. Get ready to tackle this plumbing project head-on and enjoy a trouble-free bathroom experience with the help of wall plugs.
NEED ADVICE? CONTACT US HERE
Understanding How a Toilet Works
 Toilets, including cisterns and soil pipes, are essential for any bathroom. Have you ever wondered how toilets work? They rely on drains and sewers to function properly.
Components of a toilet and their functions
A new bathroom toilet consists of several key parts, including the drain, cisterns, and soil pipes, that work together to ensure efficient waste disposal. Here are the main components you should know about.
- Toilet bowl: This is where the waste is collected before being flushed away.
- Tank: The tank holds water that is used for flushing.
- Flushing mechanism: When you press the flush handle or button, it activates the flushing mechanism, which releases water from the tank into the bowl.
- Fill valve: This valve controls the flow of water into the tank after each flush.
- Flush valve: The flush valve opens to allow water to flow from the tank into the bowl during flushing.
- Wax ring: The wax ring creates a watertight seal between the toilet bowl and the waste pipe in the floor.
Each step in the guide plays a crucial role in ensuring proper toilet functionality. From the cistern to the pan, each component is essential.
Gravity-fed vs. pressure-assisted toilets
Toilets can be categorised into two main types: gravity-fed toilets with a cistern and pressure-assisted toilets with a pan. The cistern is connected to the clay pipe, and the pan is an important step in the toilet’s functioning.
- Gravity-fed toilets rely on gravity to move water from the tank into the bowl when flushed. They are common in residential settings and operate quietly.
- Pressure-assisted toilets use compressed air or water pressure to force water into the bowl with more power. These toilets are often found in commercial buildings and provide stronger flushes.
Both cistern and step types of toilets have their advantages and disadvantages, so it’s important to consider your specific needs when choosing a toilet.
Flushing mechanism and water flow in a toilet
The flushing mechanism of an old toilet is responsible for initiating water flow during a flush. When you activate the cistern, water rushes from the tank through openings called rim holes, which help to clean the bowl. As the water level rises, it creates a syphon effect that carries waste down the drainpipe.
Troubleshooting common toilet problems
Despite their simple design, toilets can sometimes encounter issues with the cistern. Here are a few common problems you may encounter when taking a step to use the toilet.
- Clogs: A clogged toilet can be caused by excessive toilet paper or foreign objects. Use a plunger or plumbing snake to clear the blockage.
- Running water: If your toilet keeps running after flushing, it could be due to a faulty fill valve or flapper. Adjusting or replacing these components should solve the issue.
- Leaking: Leaks can occur around the base of the toilet or within its internal components. Inspect for cracks and ensure all connections are secure.
Disconnecting and Connecting Water Supply to the Toilet Cistern
To ensure a smooth plumbing process, it’s important to know how to disconnect and connect the water supply to the toilet cistern. This involves shutting off the water supply, removing the old water supply line, installing a new one, and testing for leaks.
 Shutting off the water supply to the toilet:
- Locate the isolation valve near the toilet or turn off the mains water supply to the cistern.
- Rotate the valve clockwise until it is fully closed.
- Removing the old water supply line from the cistern:
- Use a wrench to loosen and unscrew any connectors or screws securing the toilet line.
- Disconnect any toilet washers or collars attached to the cistern to ensure complete removal.
- Installing a new water supply line to the cistern:
- Take your new toilet connector and attach it securely to both ends of the toilet cistern and outside water source.
- Ensure that all connections, including those of the toilet and cistern, are tightened properly with a wrench but avoid over-tightening.
- Testing for leaks after connecting the water supply:
- Slowly turn on the isolation valve or mains water supply to fill the toilet cistern.
- Check for any leaks around connections, valves, or washers.
- If there are leaks in your toilet, tighten toilet connections further or replace faulty toilet parts as necessary.
By following these steps, you can effectively disconnect and connect your toilet cistern’s water supply. Remember to always test for leaks before using your toilet again.
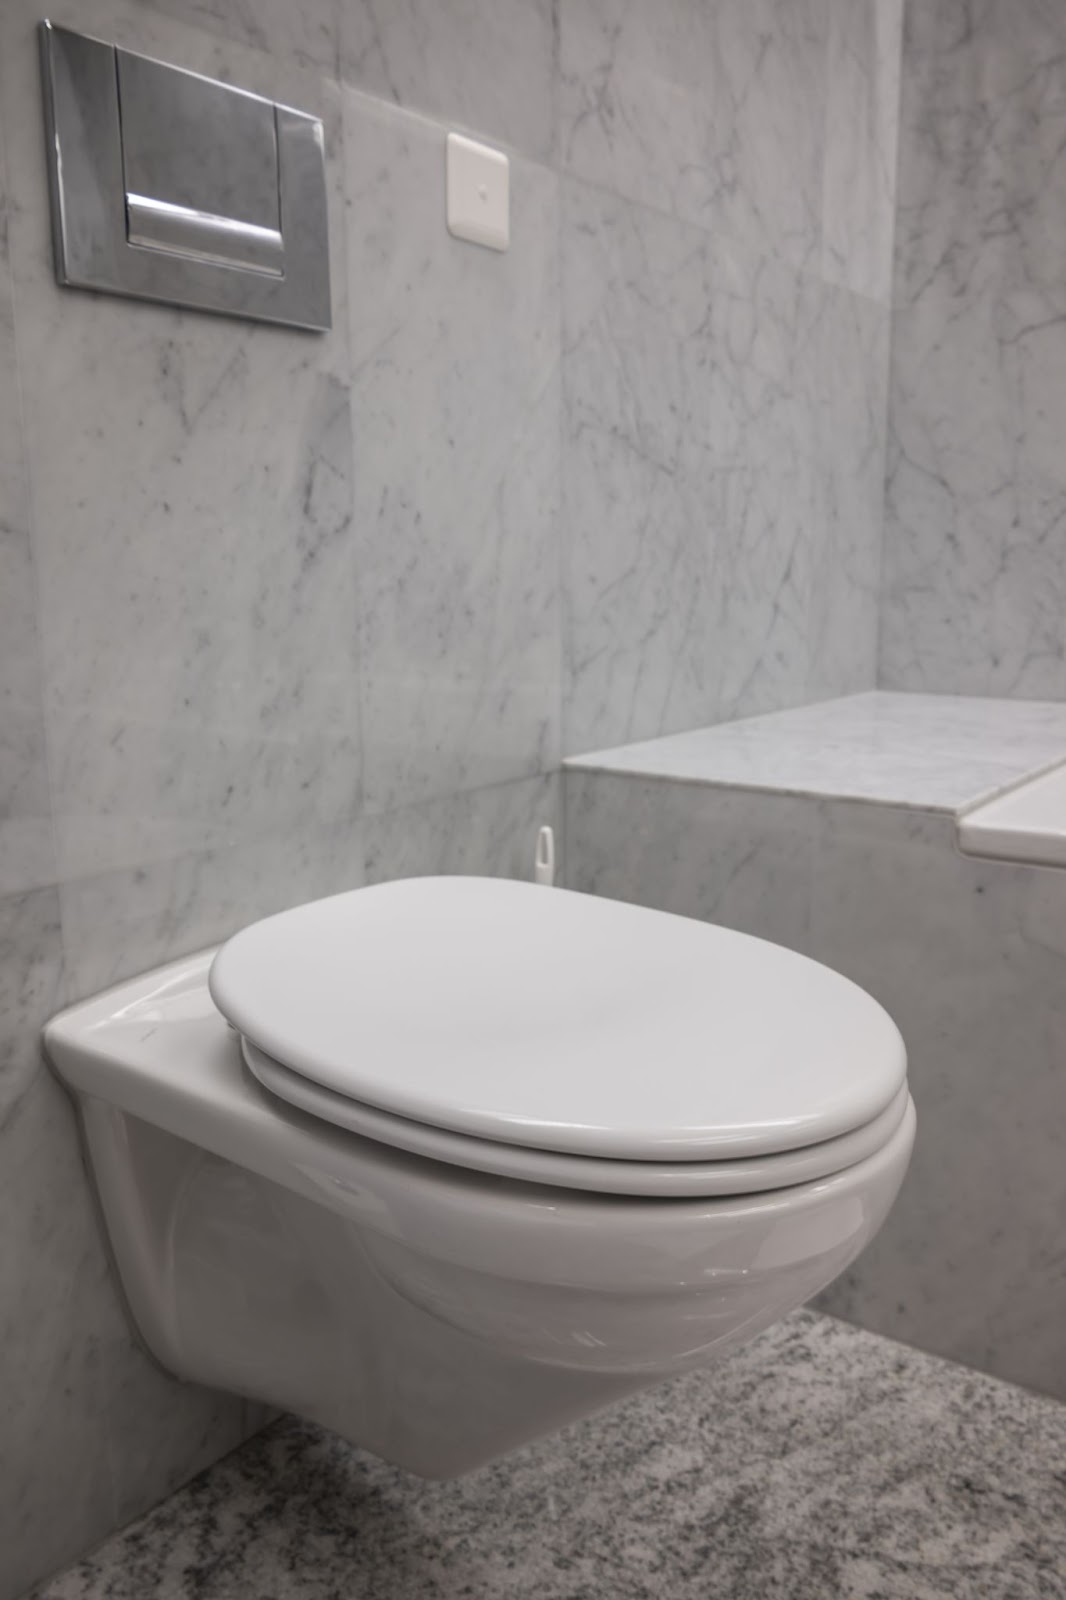
Fitting a Close Coupled Toilet: Order of Work
To successfully fit a close coupled toilet, it is important to follow a specific order of work. By adhering to this sequence, you can ensure a smooth installation process. Here are the steps you need to take:
- Prepare the floor and level it for installation:
- Clear any debris or obstructions from the area.
- Check if the toilet floor is level using a spirit level.
- Make necessary adjustments by adding shims or levelling compounds.
- Assemble and fix the toilet’s close coupled cistern onto the pan base.
- Attach the toilet flush valve to the bottom of the toilet cistern.
- Place the rubber gasket on top of the toilet pan inlet.
- Carefully lower the toilet cistern onto the pan base, aligning it with the fixing holes.
- Connect flush mechanisms between cistern and pan base:
- Insert bolts through fixing holes and tighten them securely.
- Connect the water supply pipe to fill the valve on the cistern.
- Ensure all connections are watertight by using appropriate fittings.
- Secure fixings, seal joints, and test for stability:
- Tighten the fixings evenly to securely attach both the toilet cistern and pan base in place.
- Apply silicone sealant around toilet joints for added security against leaks.
- Test the stability of the toilet by gently rocking it and checking for any movement.
By following this order of work when fitting a close coupled toilet, you can ensure that each step is completed correctly before moving on to the next one. This will help you achieve a stable and properly functioning toilet installation.
Remember that toilet plumbing tasks may vary depending on your specific situation, so always refer to toilet manufacturer instructions or consult with a professional if needed.
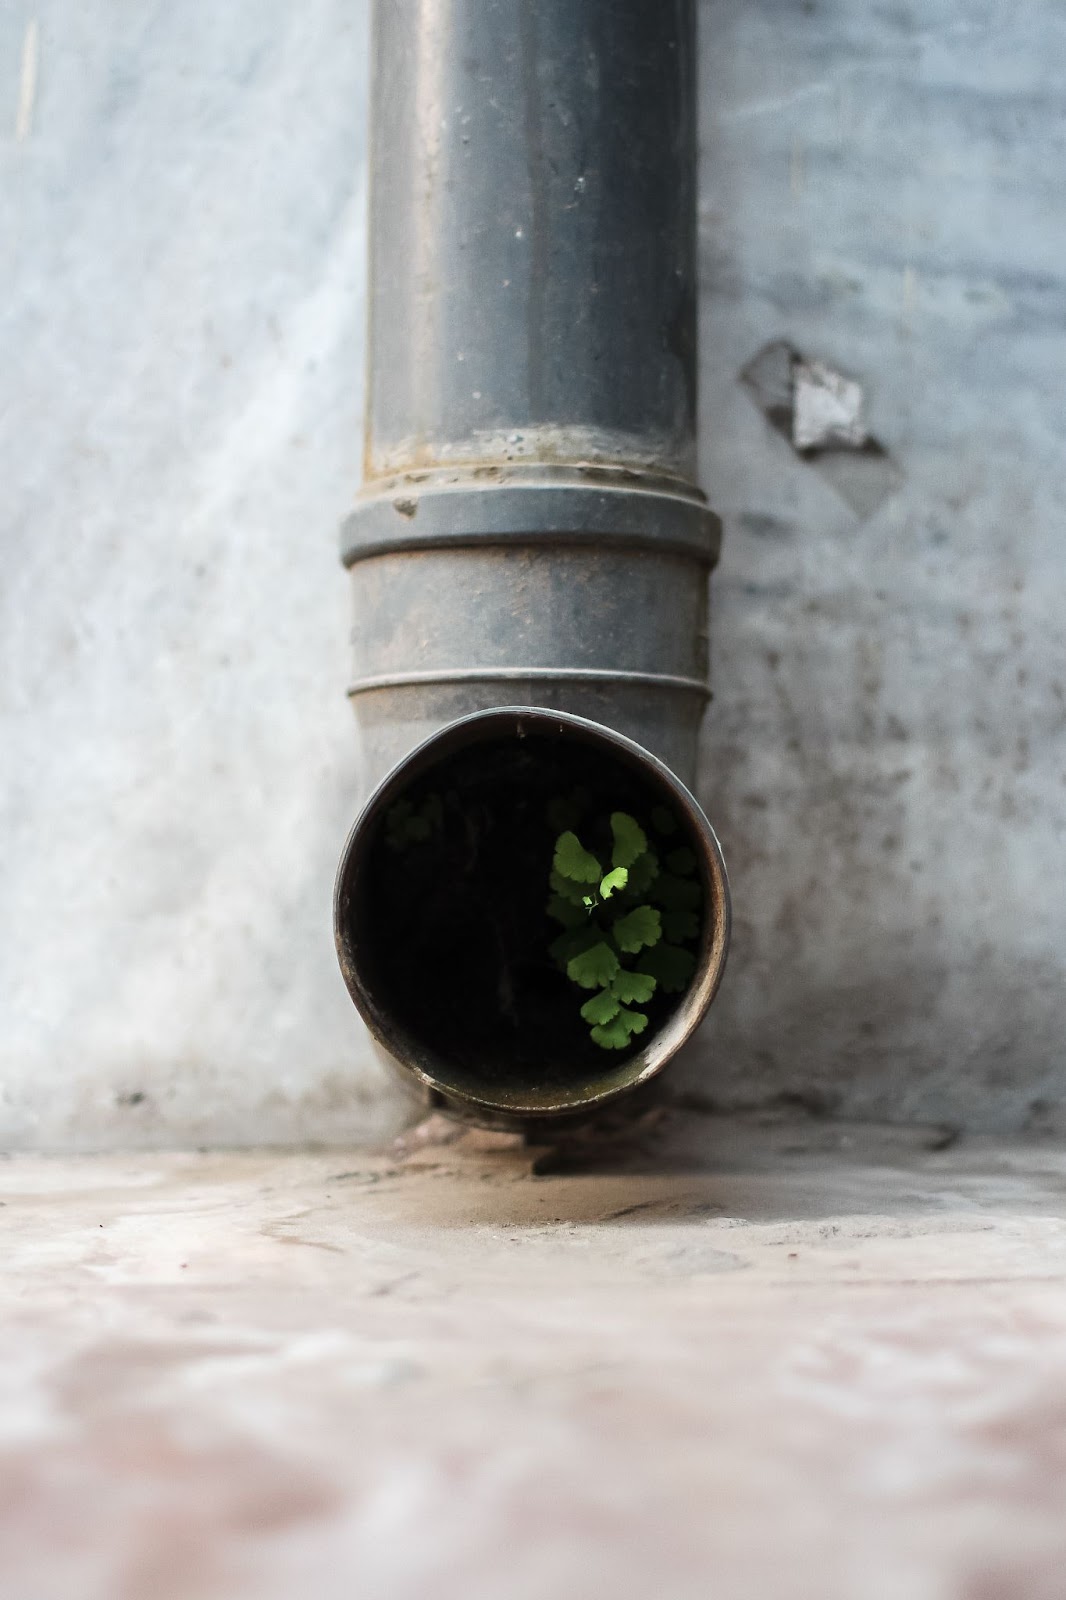
Installing a New Soil and Vent Toilet Waste Pipe
 Determining suitable location for soil pipe installation: When installing a new toilet, it is crucial to determine the ideal location for the soil pipe. Consider factors such as proximity to the existing drainage system and accessibility.
Cutting into the existing toilet drainage system or creating a new connection point: Depending on your toilet situation, you may need to cut into the existing toilet drainage system or create a new connection point. Carefully assess which toilet option is most suitable for your needs.
Measuring, cutting, and fitting toilet soil pipe sections together: To ensure a proper toilet installation, accurately measure and cut the plastic toilet soil pipe sections. Fit them together securely using appropriate connectors, ensuring a tight and leak-free fit for the toilet.
Ensuring proper venting of waste gases through the toilet vent pipe is essential to prevent the buildup of these gases in your plumbing system. Install a vent pipe that allows for the safe release of waste gases outside your home.
Remember to follow local building codes and regulations throughout the toilet installation process. DIY projects like this require attention to detail and precision.
Here are some steps you can take to install a toilet:
- Use a drill to create holes where necessary.
- Fix wall plugs securely before attaching any pipes.
- Install the vent pipe in an appropriate location.
- Use silicone sealant to ensure watertight connections.
- If working with cast iron pipes during toilet installation, take extra precautions.
By following these instructions, you can successfully install a new soil and vent toilet waste pipe in your home without any hassle or complications.
Connecting a New Toilet to Existing Soil Pipe
Assessing compatibility between the new toilet outlet diameter and the existing soil pipe diameter is crucial for a successful installation. Ensure that both components are compatible in order to avoid any complications later on.
To join the new toilet and the existing soil pipe securely, it is important to use appropriate connectors or adaptors. These connectors will ensure a tight fit and prevent any leaks or disconnections.
Sealing connections is an essential step in plumbing a toilet waste pipe. Use either solvent cement or rubber seals to create a watertight seal between the toilet pan connector and the soil pipe. This will prevent any sewage leaks and maintain proper functionality.
Before finalising the installation of the toilet, it is recommended to conduct leak tests. This step ensures that all connections related to the toilet are secure and there are no potential leaks in the toilet system. Fix any issues identified during this toilet test before proceeding with further steps.
By following these steps, you can successfully connect a new toilet to an existing soil pipe. Remember to assess compatibility, use appropriate connectors, seal connections properly, and conduct leak tests for a hassle-free installation.
Mastering Toilet Waste Pipe Installation
Congratulations! You have now become a master at installing toilet waste pipes. By understanding how a toilet works, disconnecting and connecting the water supply, fitting a close coupled toilet in the correct order, and installing a new soil and vent pipe or connecting to an existing one, you are equipped with all the knowledge needed for successful installation.
To ensure a smooth installation process for your toilet, remember to follow these key points.
- Familiarise yourself with the inner workings of a toilet to understand how each component connects.
- Disconnect and connect the toilet water supply carefully to avoid any leaks or damage.
- When fitting a close coupled toilet, adhere to the correct order of work to ensure proper alignment.
- Install a new toilet soil and vent pipe using appropriate measurements and materials for optimal functionality.
- When connecting your new toilet to an existing soil pipe, make sure to create a secure joint for efficient waste disposal.
Now that you possess this valuable skill set, why not put it into practice? Take charge of your home improvement projects by confidently plumbing your own toilet waste pipe. Not only will you save money on professional services, but you’ll also experience the satisfaction of completing the task yourself.
Remember that practice makes perfect. Don’t be discouraged if you encounter challenges along the way; learning from mistakes is part of the process. With determination and patience, you’ll soon become an expert in plumbing toilets.
So go ahead – grab your tools and get started on your next DIY toilet project! Happy plumbing!
GET IN TOUCH
FAQs
Q: How long does it take to plumb a toilet waste pipe?
A: The time required to install a toilet depends on various factors such as experience level, complexity of the toilet installation, and any unforeseen toilet issues. On average, it can take anywhere from 2 to 6 hours to install a toilet.
Q: What tools do I need for plumbing a toilet waste pipe?
A: Some essential tools for fixing a toilet include an adjustable wrench, pipe cutter, PVC glue, measuring tape, and a hacksaw. You may also need pliers, Teflon tape, and a spirit level.
Q: Can I install a toilet waste pipe without professional help?
A: Yes! With the right guidance and tools, installing a toilet waste pipe is achievable for most individuals. However, if you feel unsure or encounter difficulties during the process, it’s always wise to consult a professional plumber.
Q: How do I ensure that my toilet waste pipe is leak-proof?
To prevent leaks in your toilet, make sure all connections are properly sealed with PVC glue or appropriate jointing materials. Additionally, use Teflon tape on threaded connections to create a tight seal.
Q: Are there any safety precautions I should take when plumbing a toilet waste pipe?
Yes, always wear protective gloves and goggles when handling toilet tools or working with plumbing materials. Ensure the area is well-ventilated to avoid inhaling harmful fumes from toilet adhesives or solvents.
Q: Can I connect multiple toilets to one soil pipe?
A: Yes. You can connect multiple toilets to one soil pipe by using appropriate fittings such as Y-junctions or stack connectors. It’s important to consider the size of the soil pipe and local building codes when planning such installations.
Q: What do I do if my toilet waste pipe smells bad?
A: A foul odour from your toilet waste pipe could indicate an issue with ventilation or improper installation. Check for blockages in the vent stack and ensure all joints are tightly sealed. If the problem persists, it’s advisable to seek professional assistance.


